
Edit, Delete, or Void a Trust Transaction
You can edit, delete, or void a trust transaction.
Locating a Trust Transaction
Within a matter:
- From the left navigation panel, click Banking.
- Double-click on the Trust Account bank and scroll down to review the specific details of the selected Trust account.
- By default, you will see the associated transactions.
Edit a Trust Transaction
Note: If you intend to void a transaction that was initially recorded as an invoice payment, it is crucial to unlink the payment from the invoice before proceeding.
To edit a trust transaction:
- Click on the three dots located to the right of the transaction.
- Select Edit from the drop-down menu options.
- Save your changes.
To delete a trust transaction:
- Click on the three dots located to the right of the transaction.
- Select Delete from the dropdown menu options.
- The Delete Transaction message box reads: Are you sure you want to delete this transaction?
- Click Yes. The system deletes the transaction and updates the Transactions screen.
Record a Voided Trust Transaction
The void function can be utilized to record:
- NSF (bounced) checks (from clients or vendors)
- Firm checks voided due to errors
- Stale-dated check reversals
- Checks for which you have stopped payment
- Click on the three dots located to the right of the transaction.
- Select Void Transaction from the dropdown menu options.

- Select the void date from the drop-down menu in the Void Date field. By default, it will be set to today’s date.
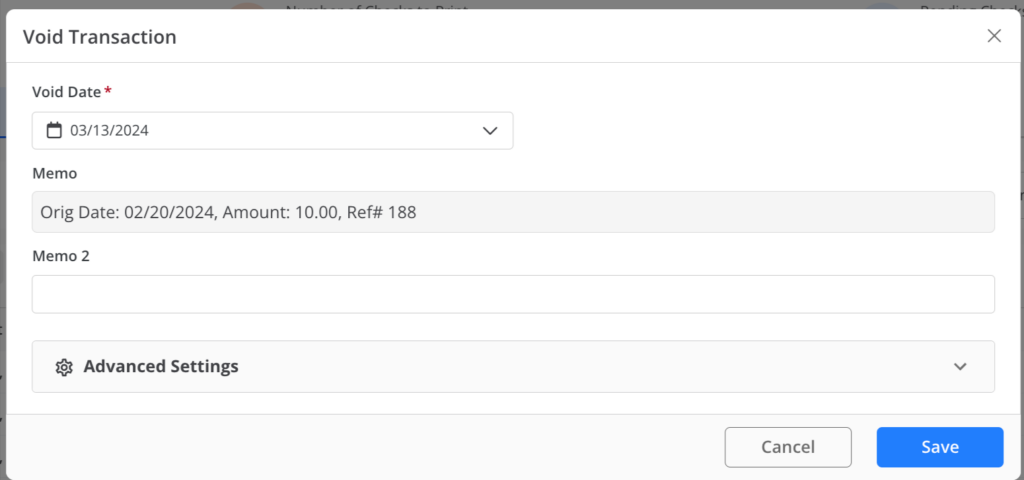
- The Memo will autofill.
- In the Memo2 field, document the reason for the void.
- The Advanced Settings options will display the following:
- “Maintain Original Transaction Amount”
- Voids the original transaction without changing the amount
- Creates a void adjustment entry to reverse the original transaction as of the specified date.
- “Maintain Original Transaction Amount”
- Carefully review to confirm that the correct void option is selected.
- Click Save.
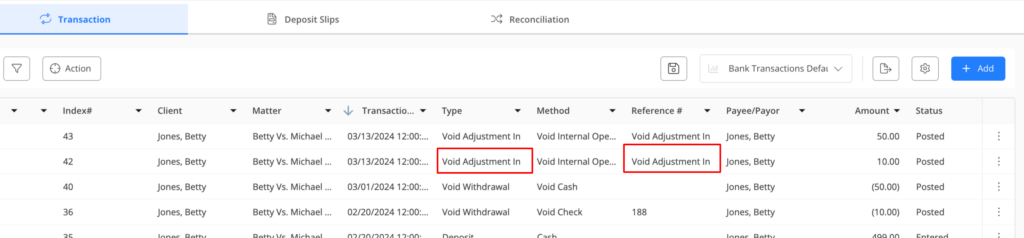
- Now, while viewing the transaction history you’ll see the voided transaction
- If you don’t see the voided transaction listed, check your current applied filters.
Transaction Previously Voided
There are two options for handling this situation. We highly recommend consulting your bookkeeper for guidance.
- Option 1: Delete the deposit transaction from your operating account. This will delete the associated trust transaction withdrawal and return the funds to the trust account.
- Option 2: Manually add the deposit reversing the withdrawal (making sure the deposit is related to the same matter as for the check), and then clear both the original check and the reversing deposit.