
Create Class-Based Reports
Class-based reporting allows you to categorize your income and expenses based on classes to create a financial picture that meets your firm’s specific needs.
Note: We recommend consulting with your accountant to determine the best class-based accounting method for your firm.
Step 1. Create a Class
To create a class:
- From the toolbar, click your Profile icon.
- From the drop-down, click Setup.
- From the Setup left navigation, click List Items.
- From the tabs atop the List Items screen, click Classes.
- From the toolbar atop the Classes screen, click Add.
- On the Add Class screen, in the Name field, enter the class name, such as the attorney’s name, the office location, or the area of law.
- In the Description field, enter a class description, if desired.
Note: As a default, the Active field’s checkbox is checked. You can uncheck the box to deactivate a class or sub-class at any time. - In the lower right corner, click Save.
The system saves your class and adds it to the Classes listing.
Step 2: Associate Transactions with a Class
Once you create your classes, ensure all firm transactions are assigned to their appropriate classes. To automate some of this activity, you can assign classes to various account components such as:
- Matters
- Matter Owners
- Areas of Law
Matter Level
Assigning a class to an individual matter automatically links the matter’s transactions to that class.
To assign a class at the matter level:
- From the left navigation panel, click Matters.
- Double-click on the selected matter, and scroll down to view the matter details.
- From the tabs atop, click Settings.
- From the tabs in the Settings section, click Accounting.
- Click on the Class field’s drop-down for the list of created classes to appear, and select the class.
- In the upper right corner, click Save.
The system saves your matter’s class assignment and will automatically link the matter’s income and expense transactions related to the class.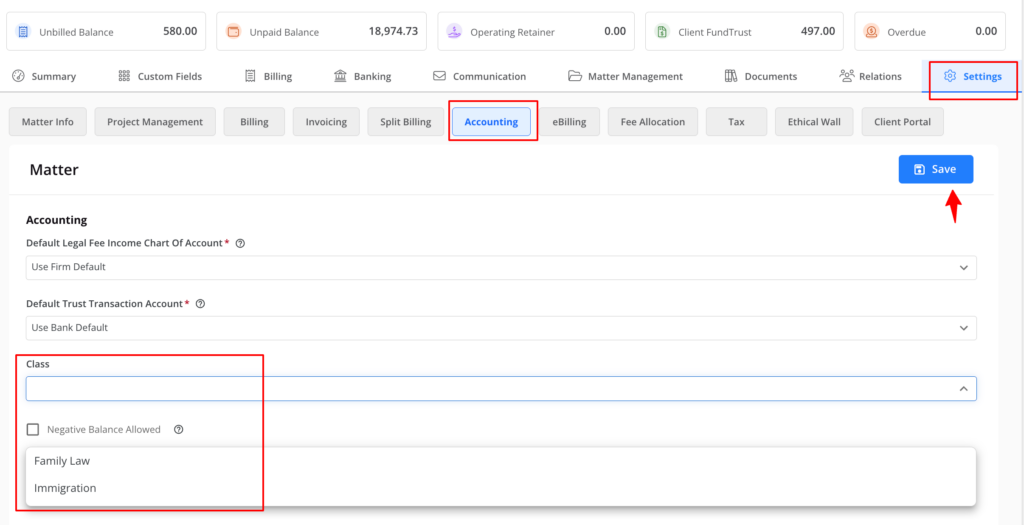
Matter Owner Level
Assigning a class to a matter owner automatically links the matter owner’s transactions to that class.
To assign a class at the matter level:
- From the left navigation panel, click Setup.
- From the Setup left navigation, click Matter Owner.
- On the Matter Owner screen, either double-click the matter owner, or single-click them to highlight them, and then from the toolbar, click Edit.
- On the Edit Matter Owner screen, from the Class field’s drop-down, click the appropriate class.
- In the lower right corner, click Save.
The system saves your matter owner’s class assignment and will automatically link their matter income and expense transactions to the class.

Based on the Area of Law
Assigning a class to an area of law automatically links transactions related to that Area of Law to that class.
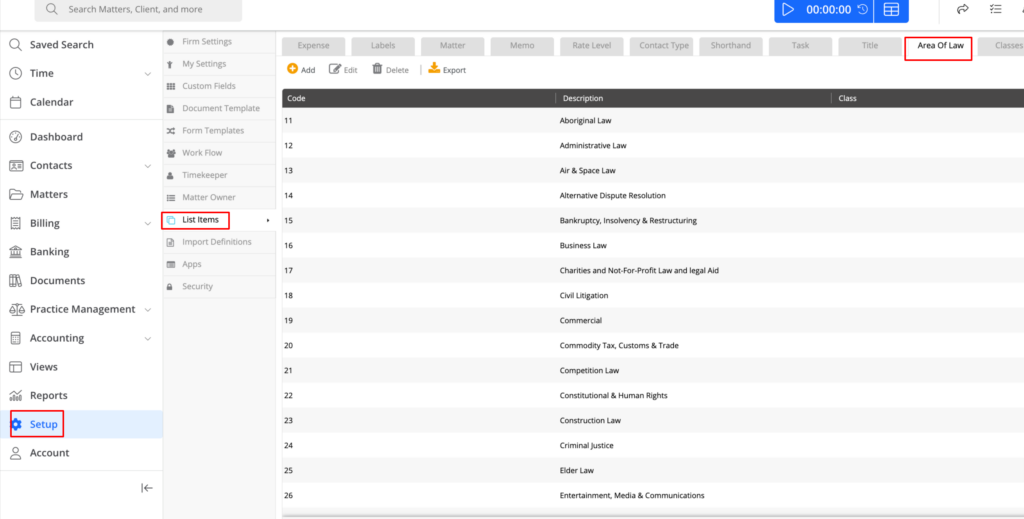
- From the left navigation panel, click Setup.
- From the Setup left navigation, click List Items.
- From the tabs atop the List Items screen, click Area of Law.
- On the Area of Law screen, double-click the area of law, or single-click it to highlight it, and then from the toolbar, click Edit.
- On the Edit Area of Law screen, from the Class field’s drop-down, click the appropriate class.
- In the lower right corner, click Save.
The system saves your area of law class. - Edit your matters to assign the applicable areas of law.
Note: To apply classes to multiple transactions at once, use the Accounts Register. When the desired Accounts Register is found, you can edit the transactions and apply classes as shown above.
Generate a Class-Based Report
You can generate any of three class-based reports: