
Record an Invoice Payment by Credit Card
Through Integrated Payment
You can use CosmoLexPay integration to process credit card payments.
With these integrations, invoices can be paid:
- From the CosmoLex application
- From a link located on the invoice
You can pay invoices using a credit card:
- For a single matter from Matters
- For single and multiple matters for the same client from Billing
- For single and multiple matters from Quick Action
Access the Integrated Payment Screen
From Matters
To process in-office credit card payments for one matter at a time:
- From the left navigation panel, click Matters.
- On the Matters screen, double-click the matter, and scroll down to the summary section.
- From the tabs atop the Matters Summary section, click Billing.
- From the tabs atop the Billing screen, click Invoice.
- On the Invoice screen, click the invoice to highlight it. If you have trouble locating it, use the Search Filter.
- From the toolbar atop the screen, click Payments.
- On the Pay Invoices screen that opens, in the Source field, click the radio button for Integrated Payments.
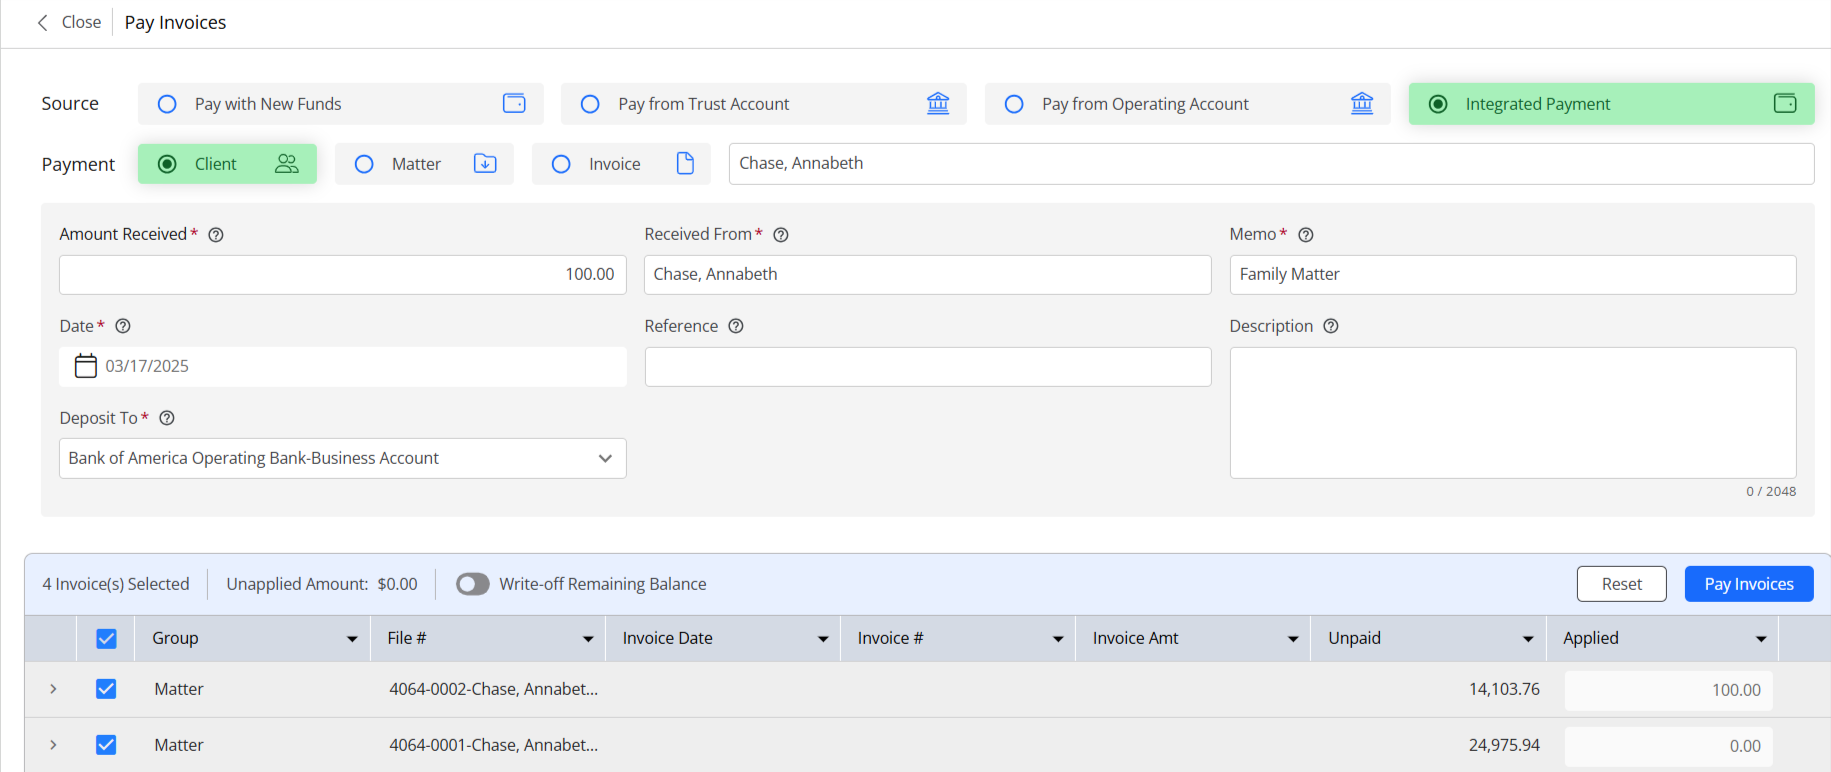
- In the Amount Received field, enter the amount. If you wish to pay the invoice(s) in full, check the box beside Full Unpaid Balance.
- After completing the remaining fields on the screen, from the invoices that display below, select the matter for which you want to apply payment.
- In the upper right corner of the invoices grid, click Pay Invoices.
From Billing
You can apply credit card payments to one matter or multiple matters for a single client.
- From the left navigation panel, click Billing.
- From the Billing menu, click Invoices.
- Beneath the toolbar on the Invoices screen, if the Applied Filters field does not display Status = Unpaid, use the Search Filter to select it.
- From the toolbar, click Payments.
- On the Pay Invoices screen that opens, in the Source field, click the radio button for Integrated Payments.
- In the Payment section, click the radio button to select from Client, Matter, or Invoice.
- Enter, client name, matter name, or invoice number, as appropriate.
- In the Amount Received field, enter the amount. If you wish to pay the invoice(s) in full, check the box beside Full Unpaid Balance.
- After completing the remaining fields on the screen, from the invoices that display below, select the matter for which you want to apply payment.
- In the upper right corner of the invoices grid, click Pay Invoices.
Complete the Fields on the Integrated Payment Screen
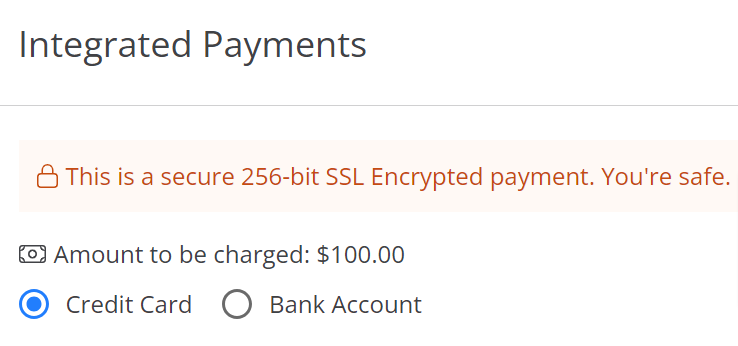
The Integrated Payments screen opens.
- On the Integrated Payments screen, leave the radio button for Credit Card selected.
- Beneath that, in the Card number field, enter the card number with no dashes or spaces.
- From the Expires drop-down, click the applicable month and year.
- In the Security code field, enter the card’s three or four-digit CVV code.
- If you would like to securely save this card’s information for future payments, check off the box to the left of “Save for future use” (only available with CosmoLexPay).
- Confirm the Billing Info Section’s information is accurate.
- Click Review at the bottom right.
- Confirm the details entered by you are correct.
- If satisfied, click Charge. If you wish to make changes, click Cancel.
The Invoice Payment From New Client message box reads: Invoice payment has been applied. - Click OK.
The Invoice screen updates with the new invoice balances.