Manage Your Payees
You can store and manage the contact information for payees to whom you regularly make payments.
Watch a Video
Add a Payee
To add a payee:
- From the left navigation panel, click Contacts.
- From the Contacts menu, click Payee.
- From the toolbar atop the Payee screen, click Add Payee.

- In the Identity section of the Add Payee form, in the Name field, enter the payee’s name.
- In the Print As field, enter their name as it should display on a check.
- If the payee is eligible for 1099, slide the toggle button ON. If they have an existing balance outside our system, check Associate Opening Balance to add it to their payee profile by adding the opening balance and starting date.
- In the Tax ID field, enter the tax ID, if needed.
- In the Notes field, enter any notes you want on file for the payee, if desired.
- You have three options for saving. If you wish to:
- Complete the remaining fields, click Next.
- Add another payee, click Save and New.
- Save the payee and complete the remaining fields later, click Save.
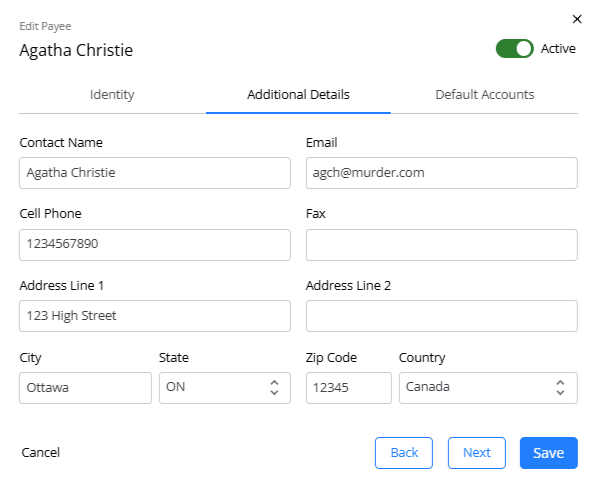
- In the Additional Details section, enter the payee’s email id, cell #, address etc.

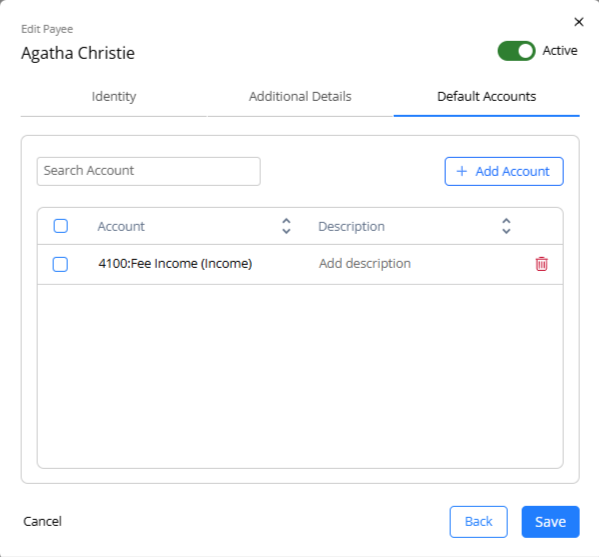
- In the Default Account section, click Add Account if your COA does not display and from the Account drop-down, select the relevant COA and add a description, if desired.

- In the lower right corner, click Save.
The system saves your payee for display in the Payor/Pay to drop-down when you enter transactions.
Edit a Payee
To edit a payee:
- From the left navigation panel, click Contacts.
- From the Contacts menu, click Payee.
- On the Payee screen, select the payee and click on the three dots at the end of the row and from the drop-down, click Edit.
- On the Edit Payee form, click to make your changes in any section.
- In the lower right corner, click Save.
The system saves your changes.
Delete a Payee
To delete a payee:
- From the left navigation panel, click Contacts.
- From the Contacts menu, click Payee.
- On the Payee screen, select the payee and click on the three dots at the end of the row and from the drop-down, click Delete.
The Delete Payee message box reads: Are you sure you want to delete Payee ….? - Click Delete.
The system deletes the payee.
Bulk Action for Payees
To bulk edit or delete payees:
- From the left navigation panel, click Contacts.
- From the Contacts menu, select Payees.
- On the screen that opens, check the box beside the payees you wish to edit or delete.
- From the toolbar atop the grid, select Edit or Delete as applicable.
- If you select Delete, validate the confirmation message by clicking Delete.
- If you select Edit, in the panel that opens, you can make the payee active or inactive.
- Check the box to confirm your selection and click Save.


