
Creating Custom Views
You can now configure your view in any section of the application and save it to get back to when you log in to your application.
Customize the View
- From the left navigation panel, click on any tab – Dashboard, Matter, Contact, etc.
- While in your selected screen, on the right of the task bar, click the Gear icon.
- A pop-up panel displays a series of tabs that allow you to select Sorts, Columns, and Settings.
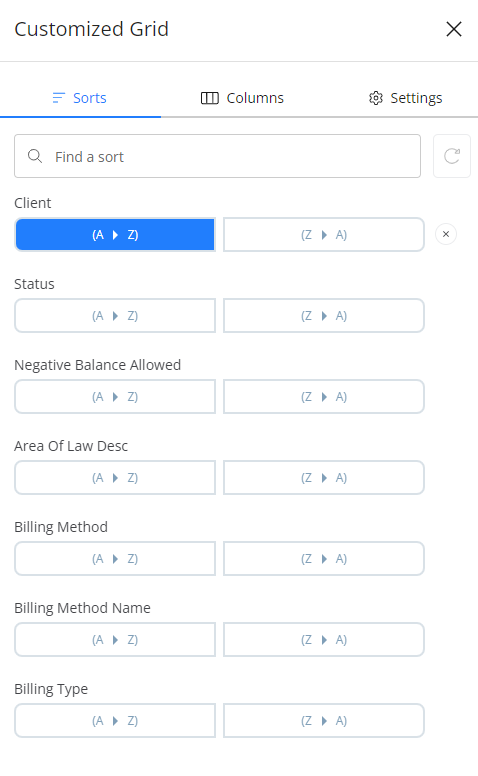
Select Your Sorts
- From the tabs at the top of the pop-up panel, click Sort.
- You can choose to sort using a search term or sort each field.
Select Your Columns
- To hide, remove, or add columns, from the tabs at the top of the pop-up panel, click Columns.
- You can choose to check or uncheck the boxes beside column names to make the columns visible or hidden. NextGen supports vertical and horizontal scrolling. If you have added a large number of columns, you can use the scroll horizontally to view each of them. If you choose to hide a column, it will remain part of the list and to make it visible, check the box beside it.
- If you are customizing the grids for Matters, Clients, or Address Book, you can choose from additional available columns which include Matter/Contact columns and Custom Fields.
- Once you have made your selection, click Apply.
The columns selected by you will display in the grid.
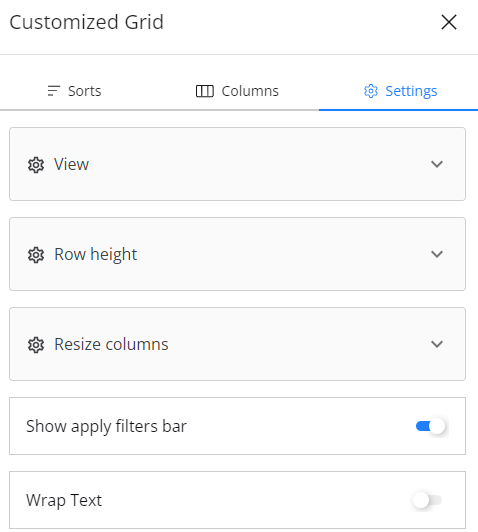
Select Your Settings
- To change the row height or to resize the columns, from the tabs at the top of the pop-up panel, click Settings.
- Here, you can adjust the height of the rows, resize the columns, show or hide the apply filters bar, and Wrap Text.
- After making your selections, from the toolbar, click the icon for Save.
- On the Save View window that opens, give your view a name.

- In the description field, give a description to your view.
- If you wish to have this view set as your default for the particular section of the application, check the box.
- You can choose to keep this view Private, Share it or make it Public.
- Private: This view will only be visible to you when you set it as your default and log in. Nobody else in your law firm will have access to your view.
- Share: Selecting Share will expand the panel to allow you to choose users or roles with whom to share your customized view. You can give them access to a Read Only version of your view or permit them to make changes by selecting Read/Write.
- Public: This will give everyone in your firm access to your customized view.
- Once you have completed all the fields, click Save. To make changes, click on the Cancel button.