
Create a Timecard for Events, Emails, Notes, and Tasks
Calendar Events
- While viewing the matter, scroll down to access the Matter Summary.
- Click on the Matter Management tab, and by default, you will see all created calendar events.
- To the right of each calendar event, click on the three dots, and then select ‘Add Timecard‘.

- When the “Add Timecard” window opens, the system automatically populates:
- Event name with the timecard task.
- Description with the timecard description.
- Calculates the time difference between start and end times and associates it with billed time.
- If you would like to make any changes, you can do so. Click Save when you’re done.
For Tasks
- While viewing the matter, scroll down to access the Matter Summary.
- Click on the Matter Management tab, and by default, you will see all created calendar events.
- Click on Tasks to the right of the Calendar.

- To the right of each task, click on the three dots, and then from the drop-down, click Add Timecard.
- The Add Timecard window opens. The system maps the:
- Task Name to the timecard task
- Description to timecard description
- Actual hours with time billed
- If you wish to make any changes, do so on this page. Once satisfied with the entries, click Save.
A timecard will be created for this event.
For Notes
- While viewing the matter, scroll down to access the Matter Summary.
- Click on the Matter Management tab, and by default, you will see all created calendar events.
- Click on Notes to the right of the Tasks.

- To the right of each note, click on the three dots, and then select ‘Add Timecard‘.
- When the “Add Timecard” window opens, the system automatically populates:
- Subject to the timecard task
- Notes to timecard description
- If you would like to make any changes, you can do so. Click Save when you’re done. A timecard will be created for this note.
For Emails
Note: If you are using Office365 Outlook, take advantage of our Outlook Add-In to tag an email and track time efficiently.
- While viewing the matter, scroll down to access the Matter Summary.
- Click on the Communication tab, and by default, you will see all associated emails.
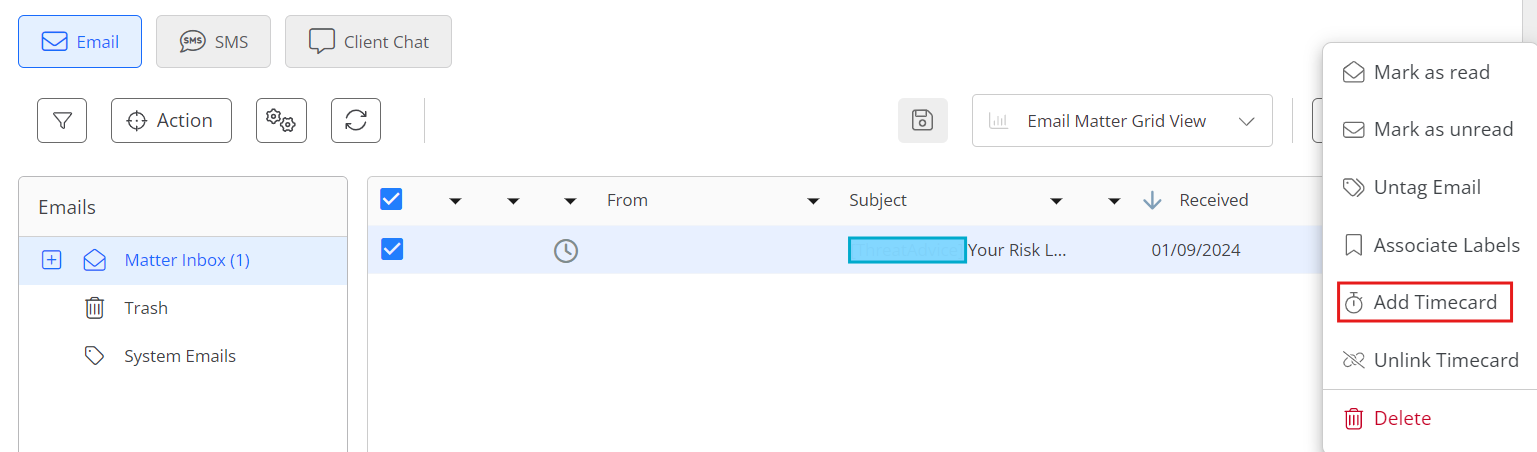
- To the right of each email, click on the three dots, and then select ‘Add Timecard‘.
- When the “Add Timecard” window opens, the system automatically populates:
- Email Communication to both task and description on the timecard.
- If you would like to make any changes, you can do so. Click Save when you’re done. A timecard will be created for this email.