To automate what happens after an intake is submitted, you can create a workflow for each intake using a visual Workflow Builder. A set of customizable triggers enables you to send communications and documents, schedule a consultation, and add timed delays between steps, ensuring that no critical step is missed.
A workflow is made up of a trigger (what starts the workflow) and one or more steps (the actions it performs). Every workflow starts from a single trigger, Form Submitted, and you can add any of the following step types:
| Step | What It Does |
|---|---|
| Send Communication | Sends an email to the lead (the form submitter), your team, or both, using a customizable template. |
| Send Documents | Sends downloadable documents to the lead, your team, or both. |
| Schedule Meeting | Lets the lead book a consultation through your connected Calendly account. |
| After Delay | Pauses the workflow for a specified amount of time before the next step runs. |
Once every step is configured, you publish the workflow. A published workflow is either Live (running automatically for new submissions) or Paused (published, but not executing). You can edit, duplicate, pause, resume, or delete a workflow at any time.
Access Workflow Setting
To access Intake Workflow settings:
- From the left navigation panel, click Intake
- From the Intake menu, click Workflows.
- In the upper-right corner, click Settings.
Add Document Templates
When building a workflow, the Send Documents step only works with documents that are already set up as document templates.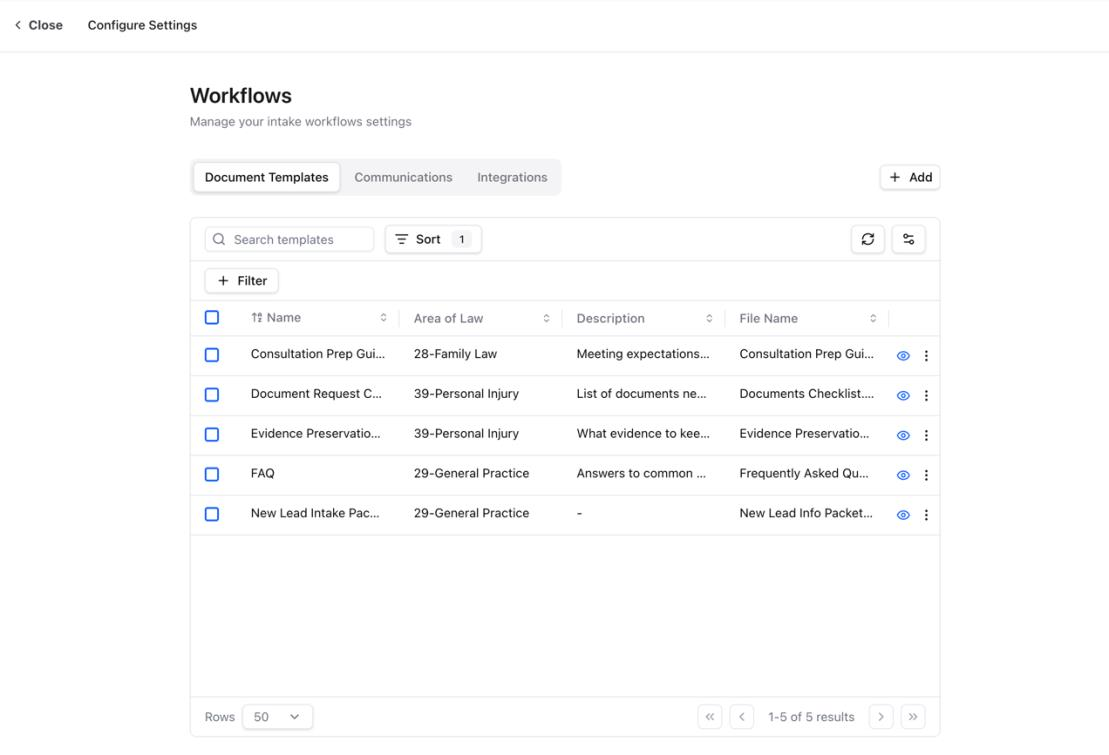
To add document templates:
- From workflow Settings, select the Document Templates tab.
- In the upper right corner, click + Add.
- In the window that opens, enter a Name for the template.
- Choose an Area of Law from the drop-down. Available options come from Setup > List Items.
- Optionally enter a Description.
- Upload a file by dragging it into the upload area or clicking to browse your computer. Supported file types are .pdf, .docx, and .doc, with a maximum file size of 500 KB.
- Click Save.
The template is added to the grid and becomes available for selection in any Send Documents step. To preview the uploaded file, click the eye icon. Click the three-dot menu to Edit, Duplicate, Download, or Delete the template.
Add Email Templates
Send Communication sends an email using a template managed from the Communications tab. Your account includes three ready-to-use templates you can customize to match your firm's voice: Welcome Email, General Reminder, and Follow-up Email.
To create your own email template:
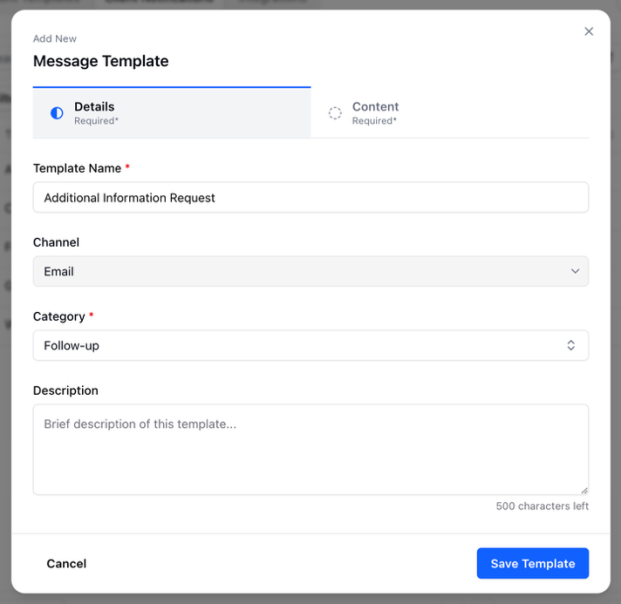
- From workflow Settings, select the Communications tab and click + Add to open the Message Template pop-up.
- On the Details tab, enter a Template Name, select a Category (or type a new category name to create one), and optionally add a description.
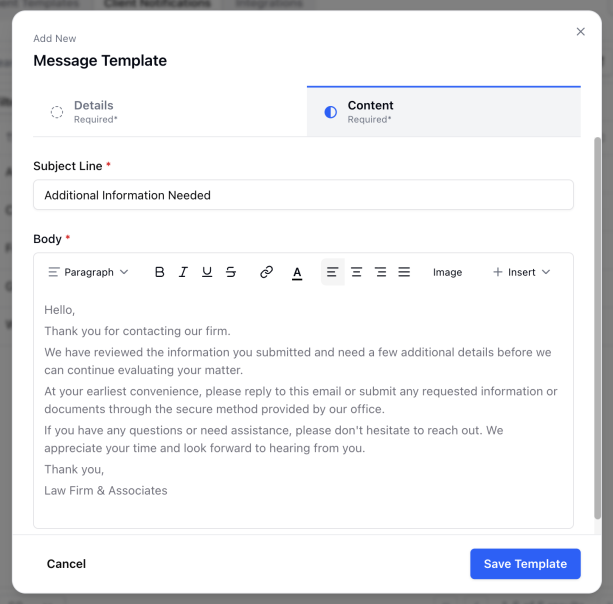
- On the Content tab, enter a Subject Line and compose the Body using the built-in rich text editor.
- Click Save Template.
To edit an existing template, click its pencil icon to review and update the content. From the three-dot menu, you can also Duplicate or Delete a template.
|
|
Connect Calendly
Schedule Meeting allows leads to book consultations through Calendly. Before using this step, connect your Calendly account from the Integrations tab.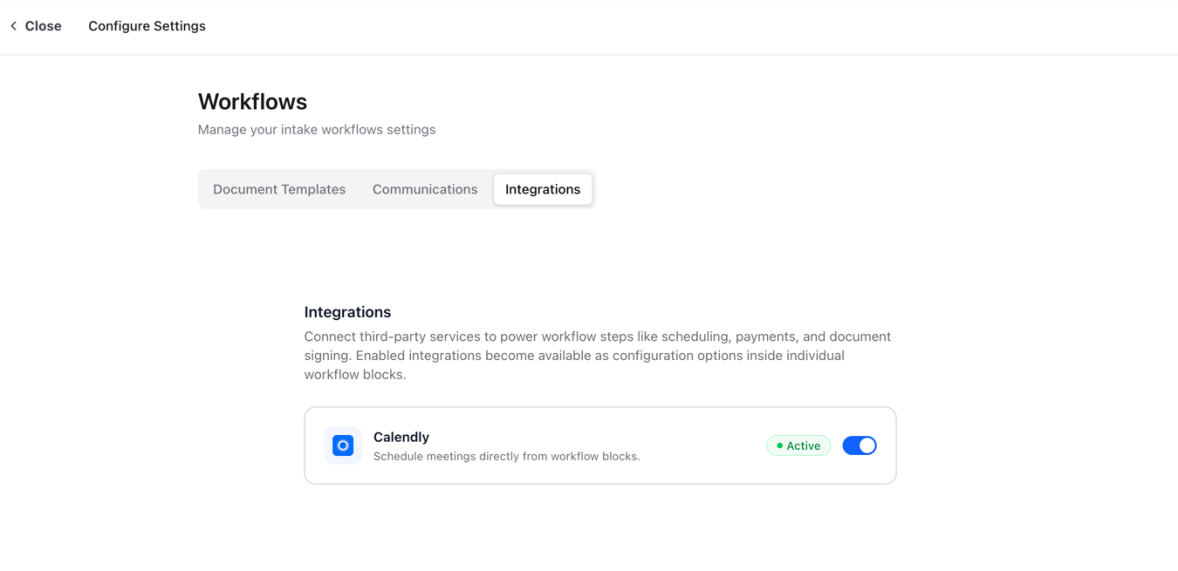
To connect your Calendly account:
- From the workflow Settings, select the Integrations tab.
- Click to turn ON the Calendly toggle.
- Complete the Calendly sign-in prompt to authorize the connection.
Once connected, the event types configured in your Calendly account become available for selection when you configure a Schedule Meeting step.
Note: The Schedule Meeting step requires a connected Calendly account on a paid Calendly plan (Standard or higher).
Note: Turning off the Calendly toggle disconnects the integration for every workflow that contains a Schedule Meeting step. Any Live workflows that rely on it are automatically paused and must be updated and republished before they can run again.
Important — Calendar Sync: To ensure meetings booked through the Schedule Meeting step appear in both your CosmoLex calendar and your email calendar, sync your Office 365 or Google calendar with NextGen and connect that same calendar to your Calendly account before publishing any workflow with a Schedule Meeting step. If a meeting is booked before your calendar is synced with both systems, that event will only appear in Calendly.
For help with syncing your calendar, see Sync Your Office 365 (Outlook) Calendar or Sync YOur Google Calendar. also read Calendly's guide, Connect Your Calendar to Calendly.