Setting Up/Managing Automations
Build status-triggered automation campaigns that send emails, texts, calls, tasks, documents, and e-signs, and edit, copy, or delete them as needed.
CosmoLex CRM offers a powerful automation module that allows you to design customized automation that can trigger emails, texts, tasks, phone calls, e-signs, workflows, and more.
Note: Only users with Admin Rights and/or Command Center permission will have access to make the changes mentioned in this article.
Creating and Activating Automation Campaigns
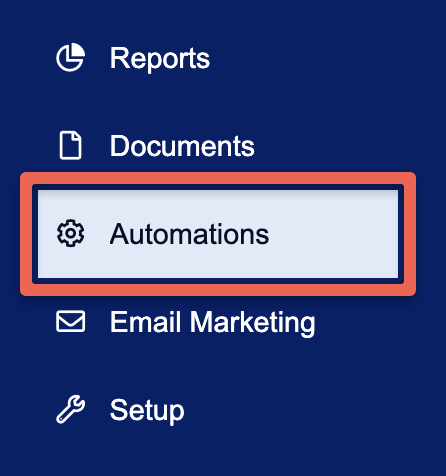
Using the main navigation menu on the left-hand side of the screen, go to Automations.
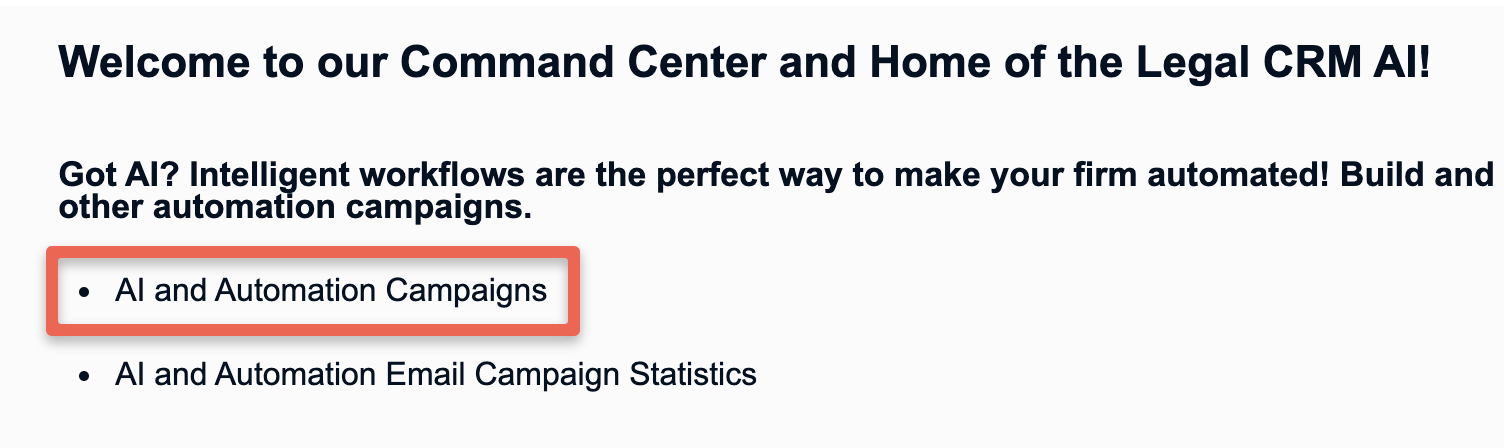
Next, navigate to the AI and Automation Campaigns page.
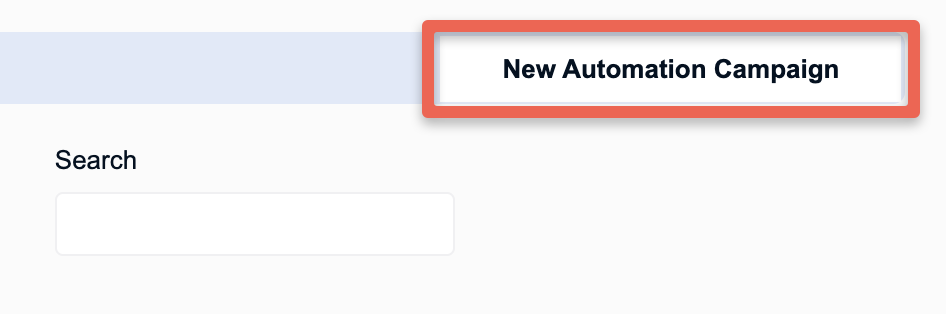
To start creating new automation, click the New Automation Campaign button located in the upper-right corner.
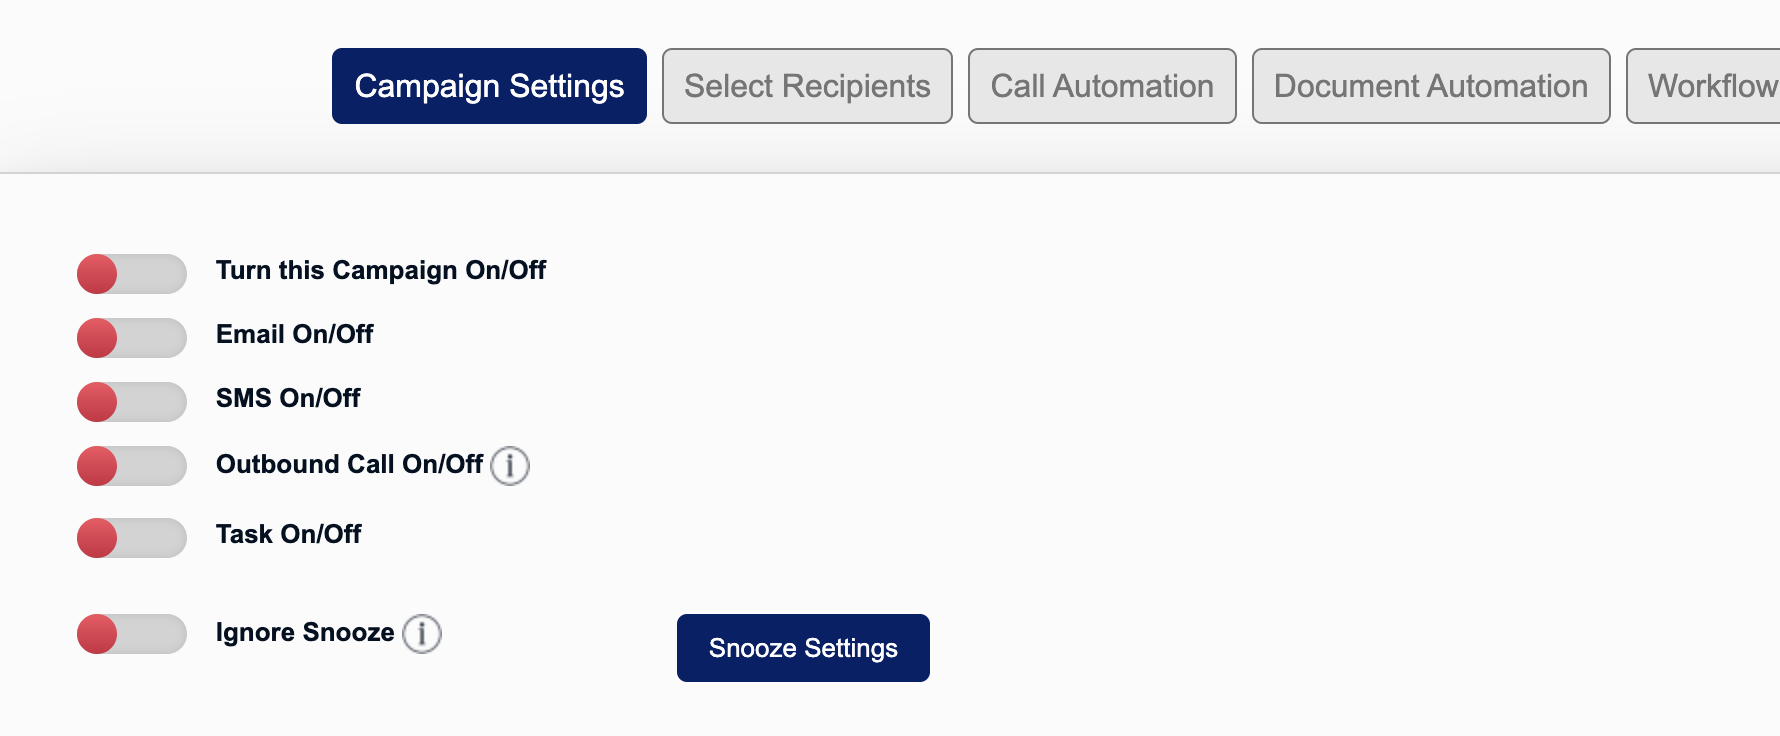
The Automation Editor screen will open up. The automation configuration will start under the Campaign Settings tab. First, you must choose what functions this automation will trigger (email, SMS, outbound call, and/or task creation).
All trigger settings will be turned off by default, as shown below, but you can click the toggle buttons on the left to turn them on. A toggle pointing right indicates that the setting has been turned on.
If you turn on the Ignore Snooze setting, the system will trigger the automation at any time of the day regardless of the Snooze Settings configured in the portal. For details, see Configuration of Automation Schedule and Snooze Settings.
Next, you will need to provide a Campaign Name which will be the name of the automation itself. We recommend giving a name that will help you easily identify the functions of the automation at a glance.
If your automation is going to send an email, you can choose the email sender by using the Who Will This Email Come From? dropdown.
Automations are status triggered - this means that an automation will trigger based on the current status of the lead/case record. We don’t recommend having multiple statuses trigger the same automation. If you would like for the automation to trigger every time the status is used in the record, turn on the Retrigger automation if the same Status is reused setting; otherwise, the automation will only trigger the first time the status is used.
Lastly, you will choose Delivery Settings. This determines when the automation will trigger based on when the status is applied to a record. For example, if you would like the automation to trigger one hour after the status is changed, then you will set the Delivery Settings to 1 hour. If you would like automation to trigger instantly (as soon as the status change happens), then you will set the Delivery Settings to 0 minutes or even 1 minute. The Schedule Another Delivery of the Same Campaign button allows you to select another delivery time for the same automation.
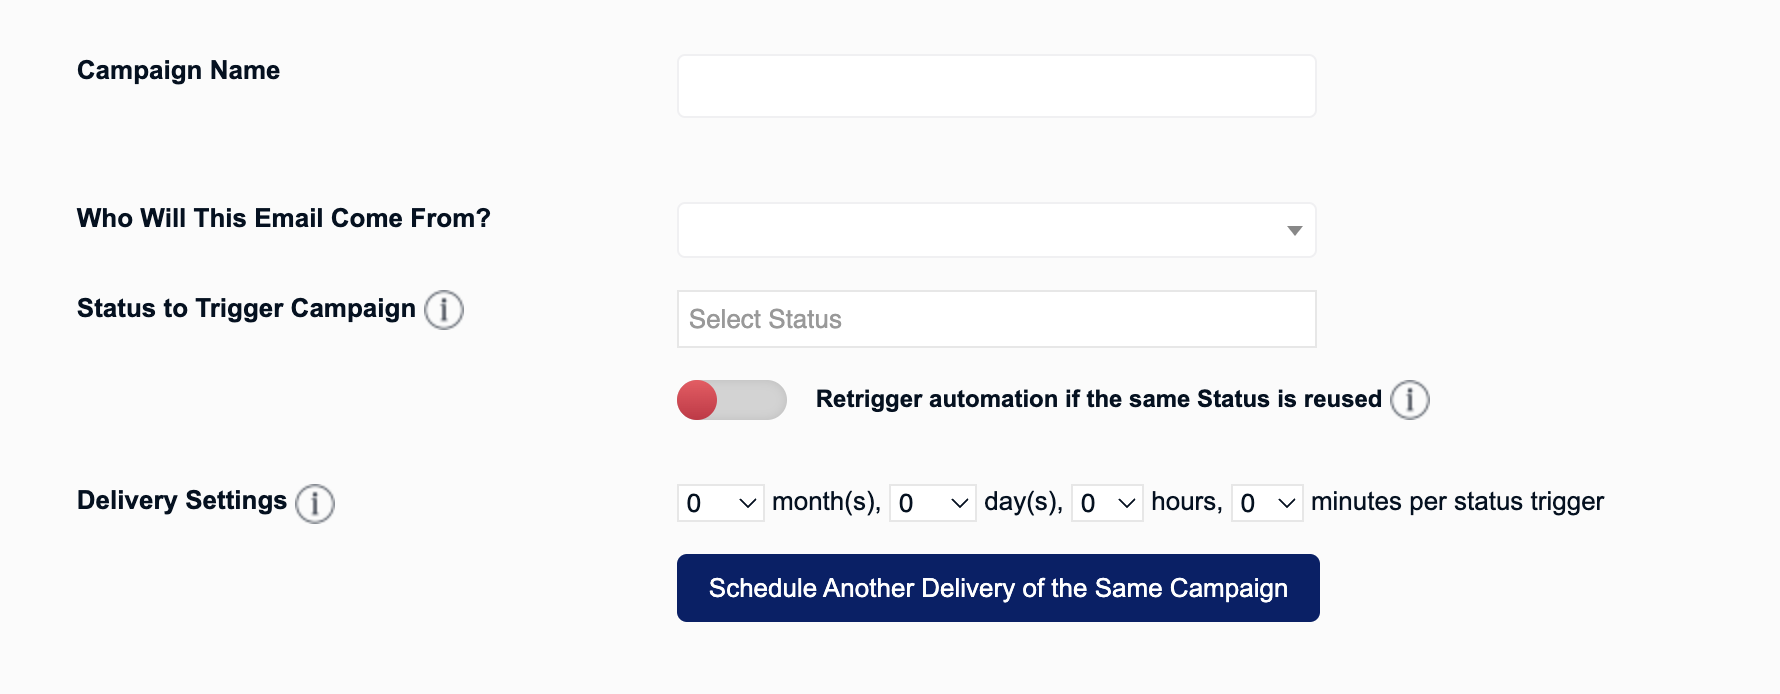
After configuring the Campaign Settings, click on the Create and Continue button in the screen's upper-right corner.
Now you will be under the Select Recipients tab. This tab applies to any automation that triggers an email and/or text message.
Use the available settings to filter who will receive this automation. It is important that you make at least one selection for the Who will this email deliver to? setting, otherwise, the system will not know who to deliver the email and/or text message to.
In the Cc: and Bcc: fields, you will be able to manually enter email addresses for individuals that you would like to copy (or blind copy) in the email that is triggered by the automation.
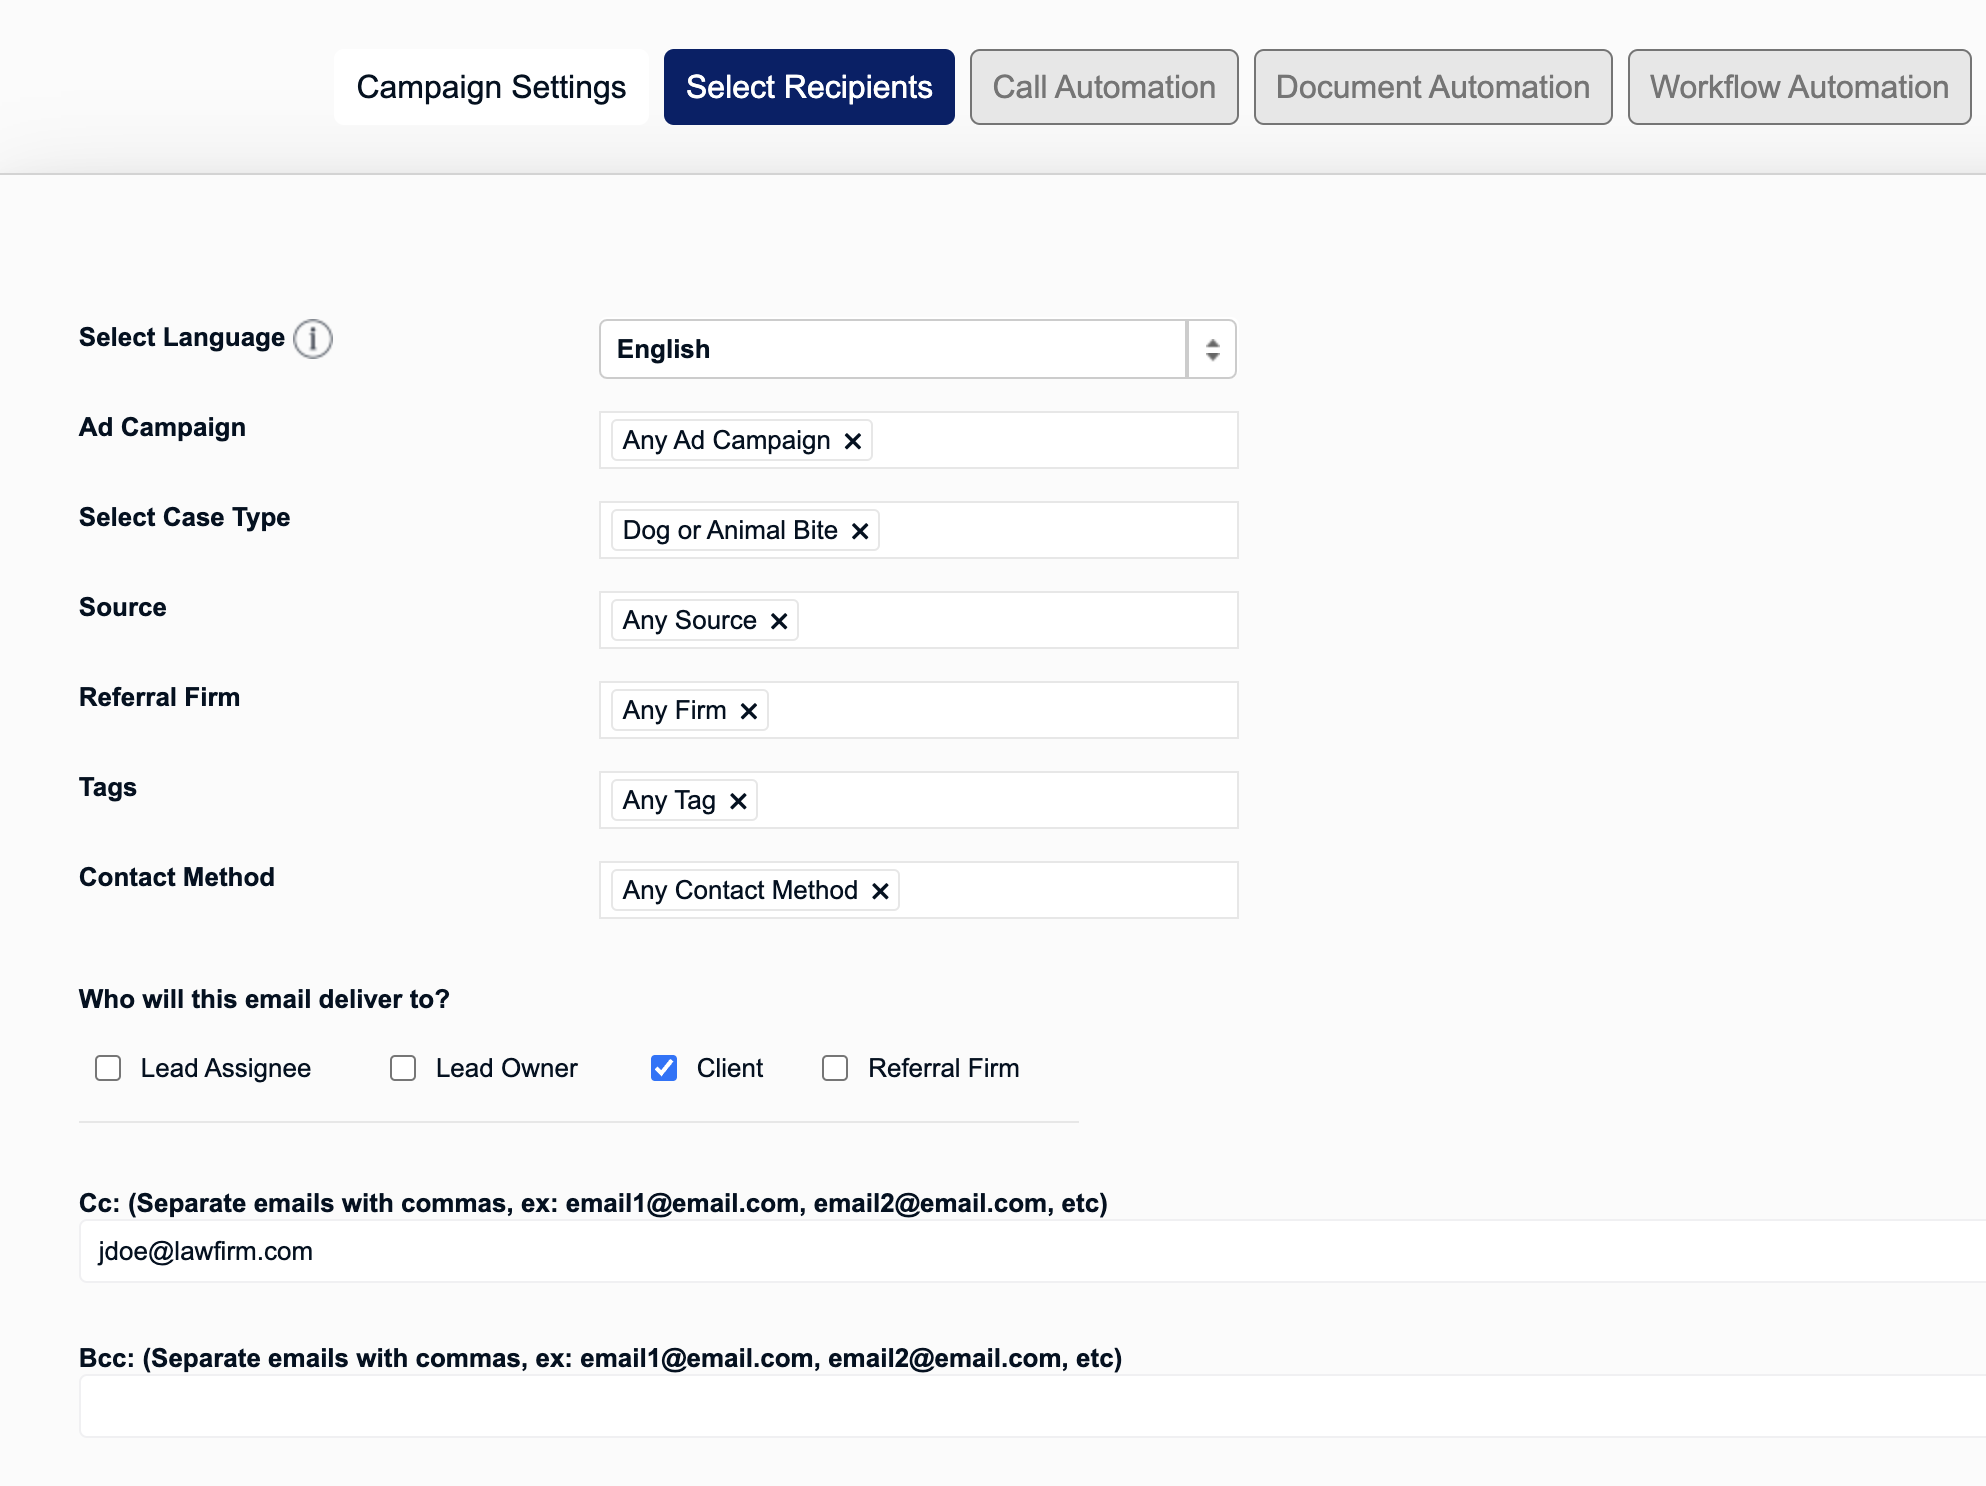
Click the Next button in the screen's upper-right corner to proceed to the Call Automation tab.
Under this tab, you can configure the automation to create an outbound call, if applicable. Please note that the outbound call can be set up to generate after the automation triggers. For example, if you want the outbound call to generate 4 hours after the status change triggers the automation, you will set the call trigger to 4 hours.
All calls configured will chain together, meaning subsequent calls will not be generated until the previous call is completed.
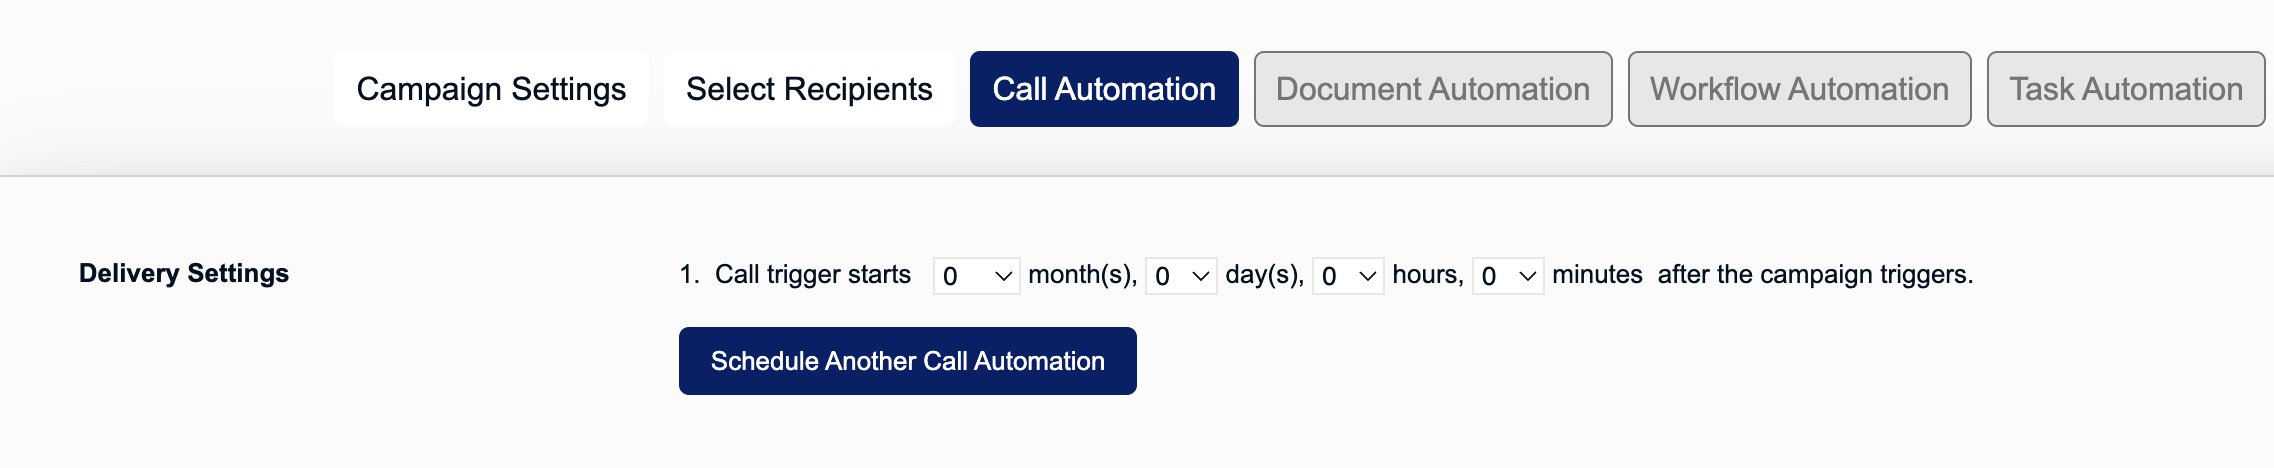
Click the Schedule Another Call Automation button to schedule multiple outbound calls.
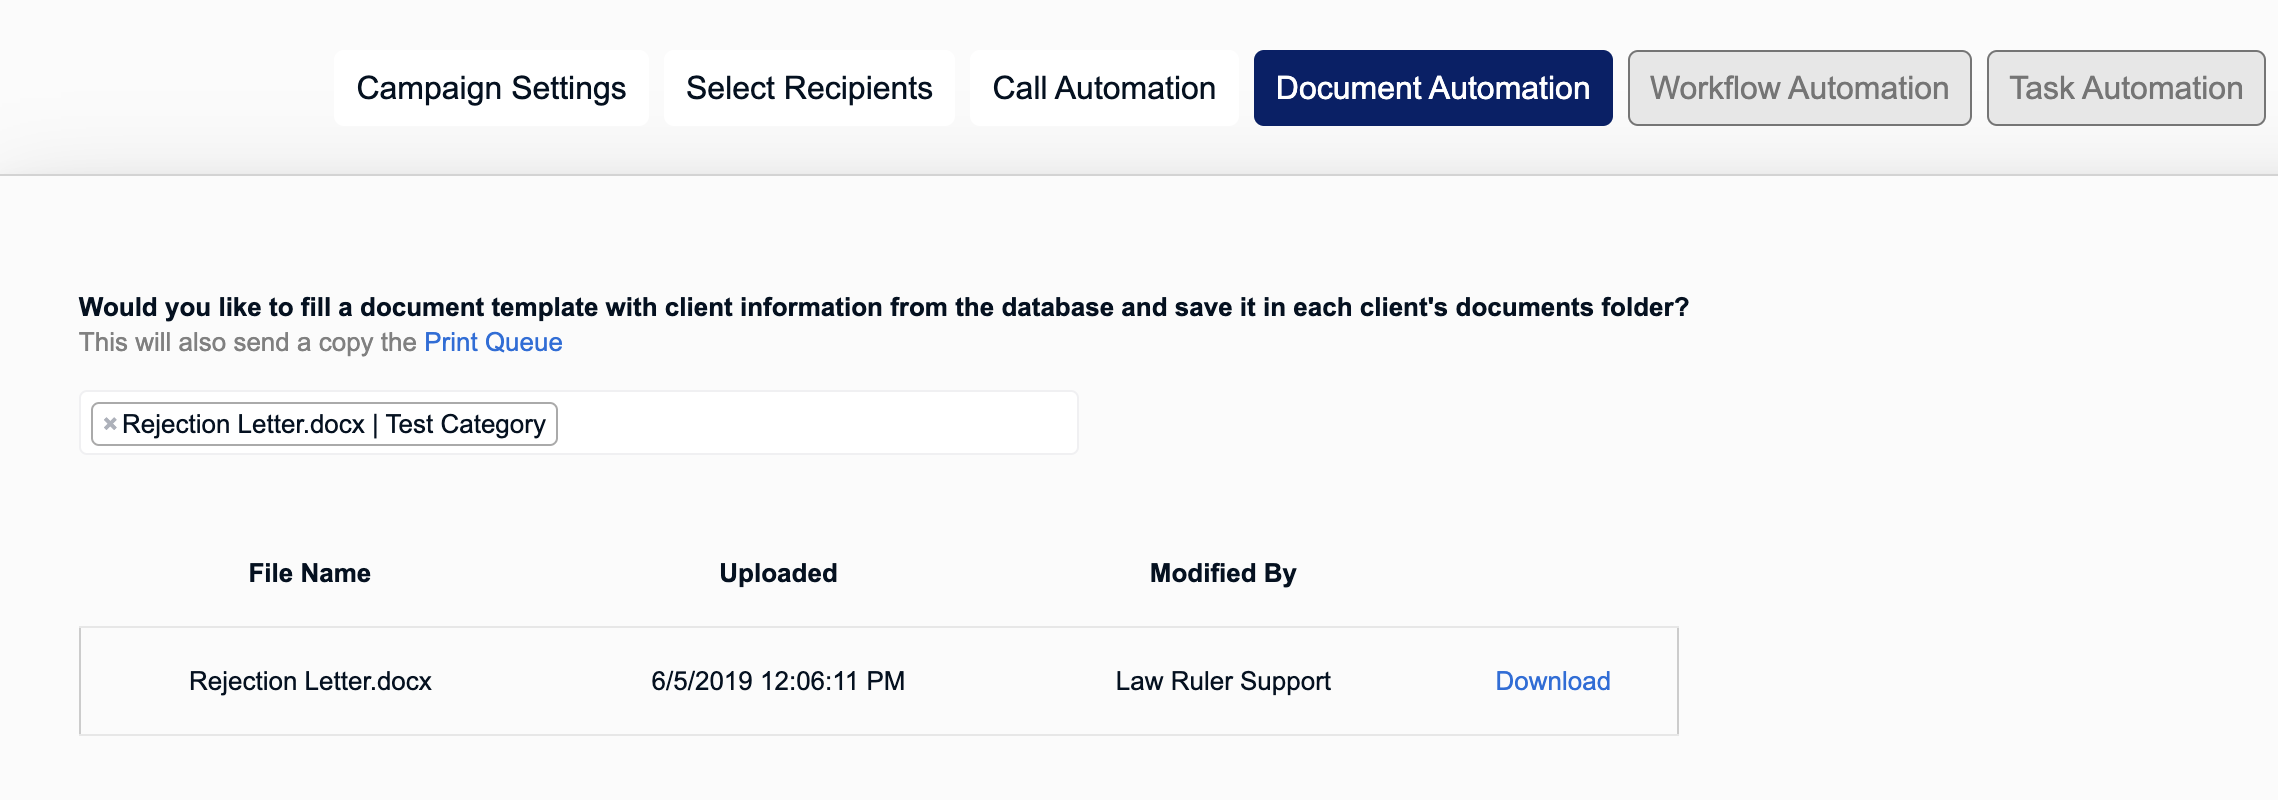
Next, in the Document Automation tab, you can choose document settings that will trigger along with this automation.
You can automate the creation of a Document Template by choosing from the list of available templates in your portal. When the automation triggers, the system generates the Document Template using the lead/case record data. The file will be added under the lead/case's Documents section, inside the Document Templates folder.
A copy of the file will also be sent to the Print Queue. Please note that if your automation also triggers an email, the generated document template file will not be sent to the email recipients. This setting is only for the automatic creation of Document Templates. At this time, it is not possible to attach a Document Template to an email that is triggered by the same automation.
You can also send an e-sign document to the recipients of this automation by turning on the E-Sign Automation toggle button and selecting an E-Sign Template from the available dropdown (only one e-sign can be sent per automation).
To send an e-sign, your automation will need also to trigger an email and/or text. The mail merge code <<HelloSign>> must be included in the email and/or text body in order to generate the e-sign signature link.

For details on sending e-signs via automation, see How to Create an E-Sign Template.
For automations that trigger an email, some additional settings can be turned on to include certain documents as attachments in the email that is sent:
- The signed retainer PDF file can be included as an email attachment. All signed contracts will be attached if the Lead/Case record has more than one signed contract.
- A copy of the intake form with any existing data can be included as an email attachment. The intake form will be attached as a PDF file.
- An export of the lead/case record in a CSV file that contains all default data points.

Click the Next button in the screen's upper-right corner to proceed to the next tab.
Under the Workflow Automation tab, you can configure a status change and/or user role changes to take place when the automation triggers. We do not recommend having an automation trigger a status change if the same automation also sends an e-sign.
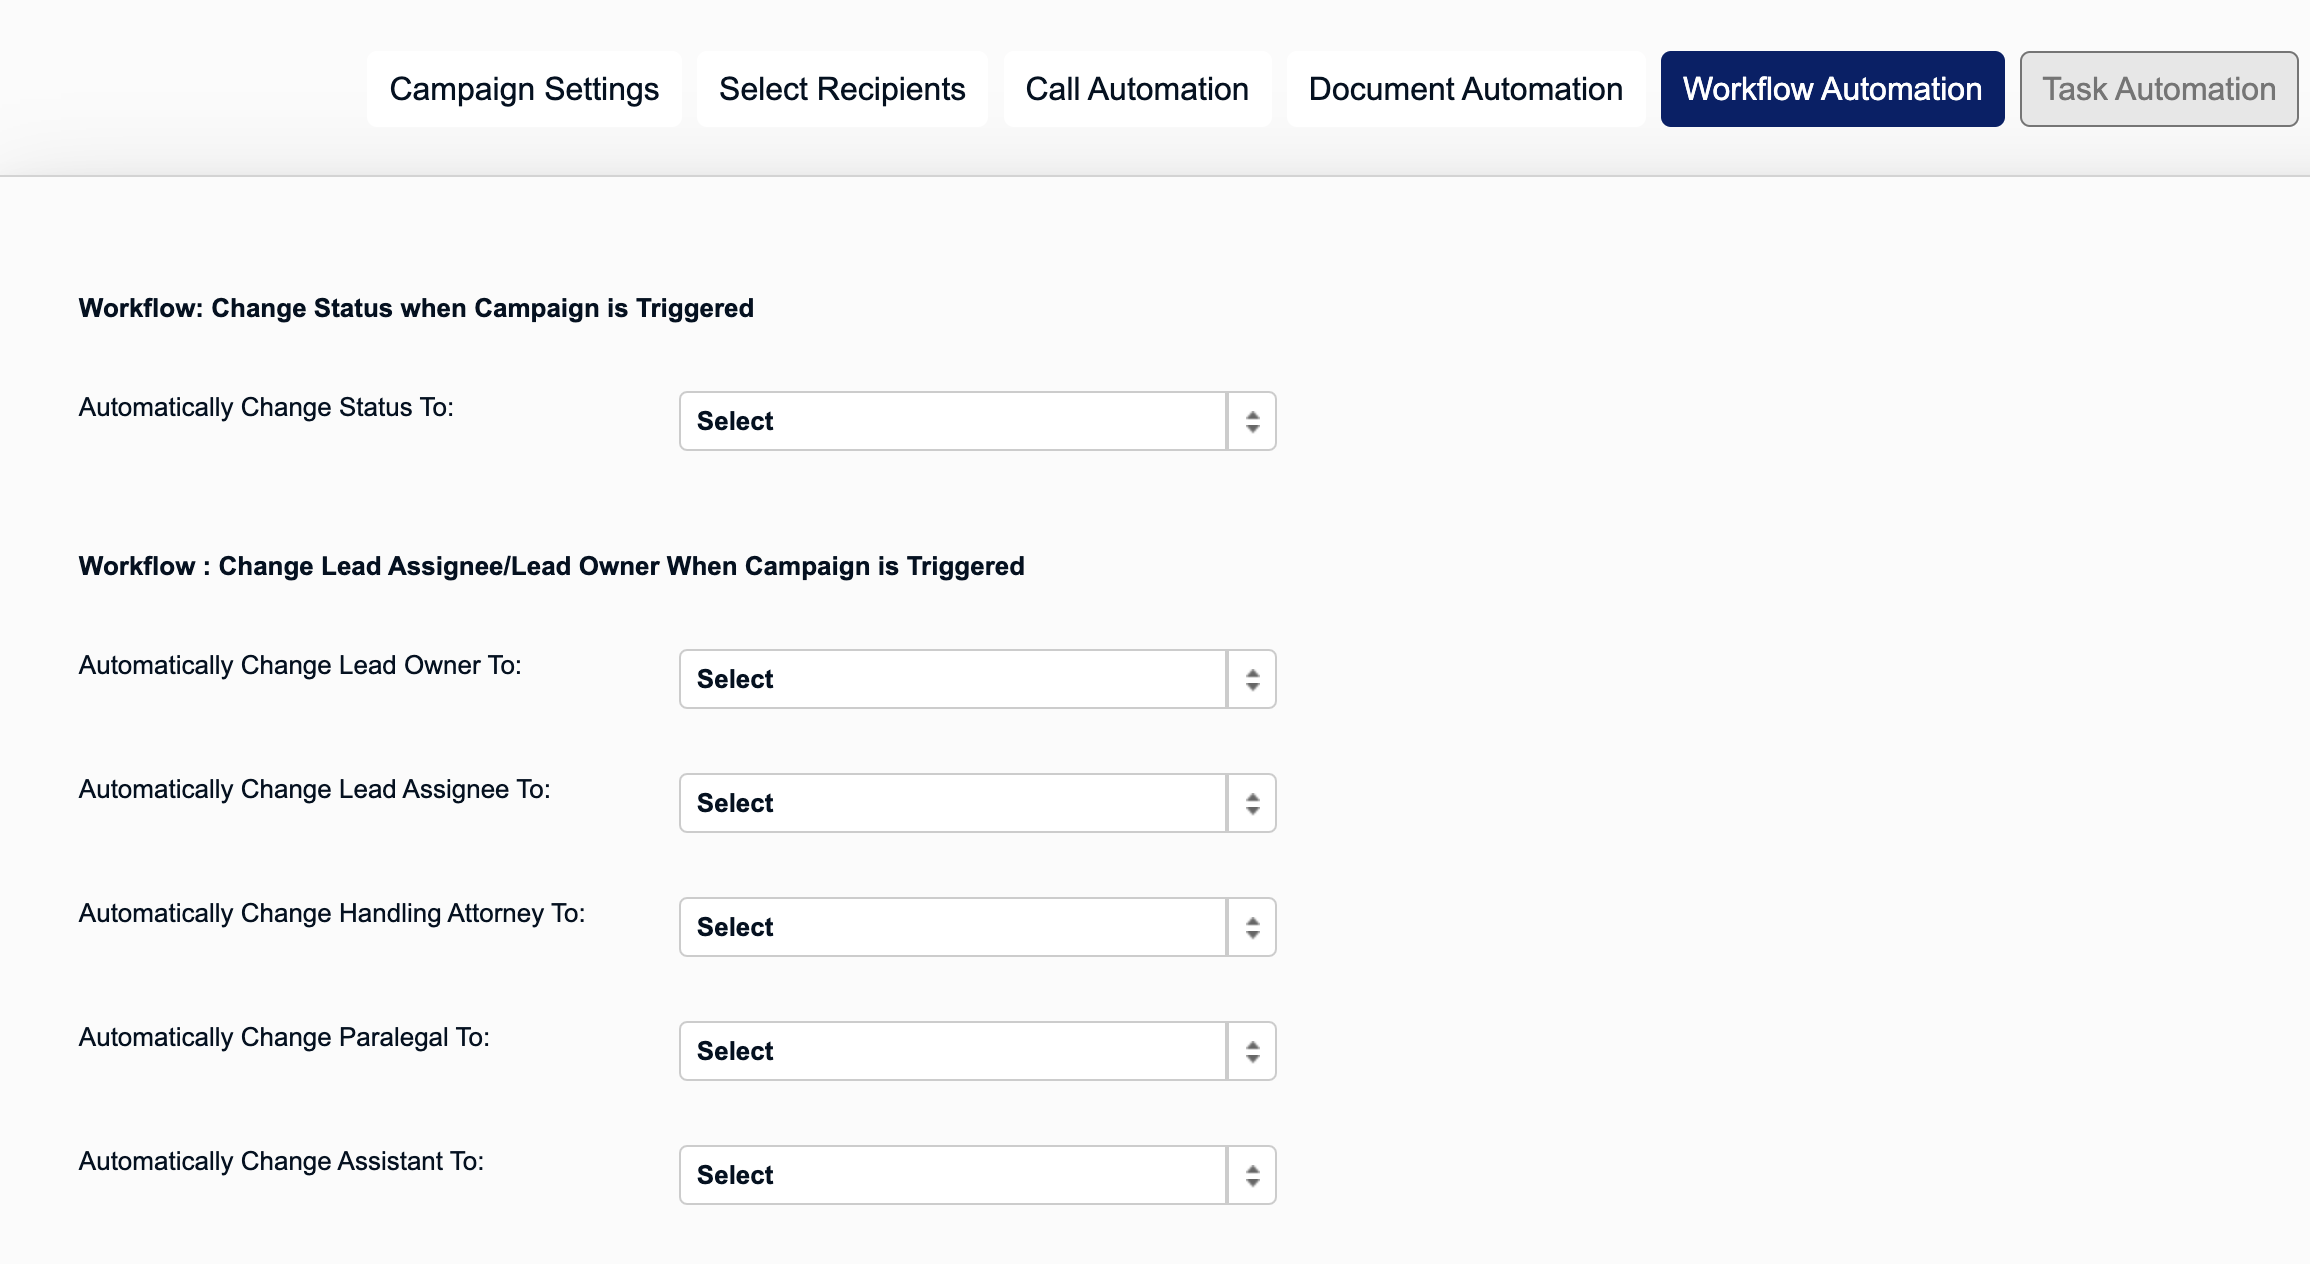
You can also automatically add a Referral Firm to the lead/case record and send a referral when the automation is triggered. This setting can be used to trigger a referral to one firm or several firms.

Click the Next button in the screen's upper-right corner to proceed to the next tab.
If the automation you’re setting up triggers a task, the task and its associated details will be configured under the Task Automation tab. You can configure an automation to trigger one or more tasks as needed.

Click the Next button in the screen's upper-right corner to proceed to the next tab.
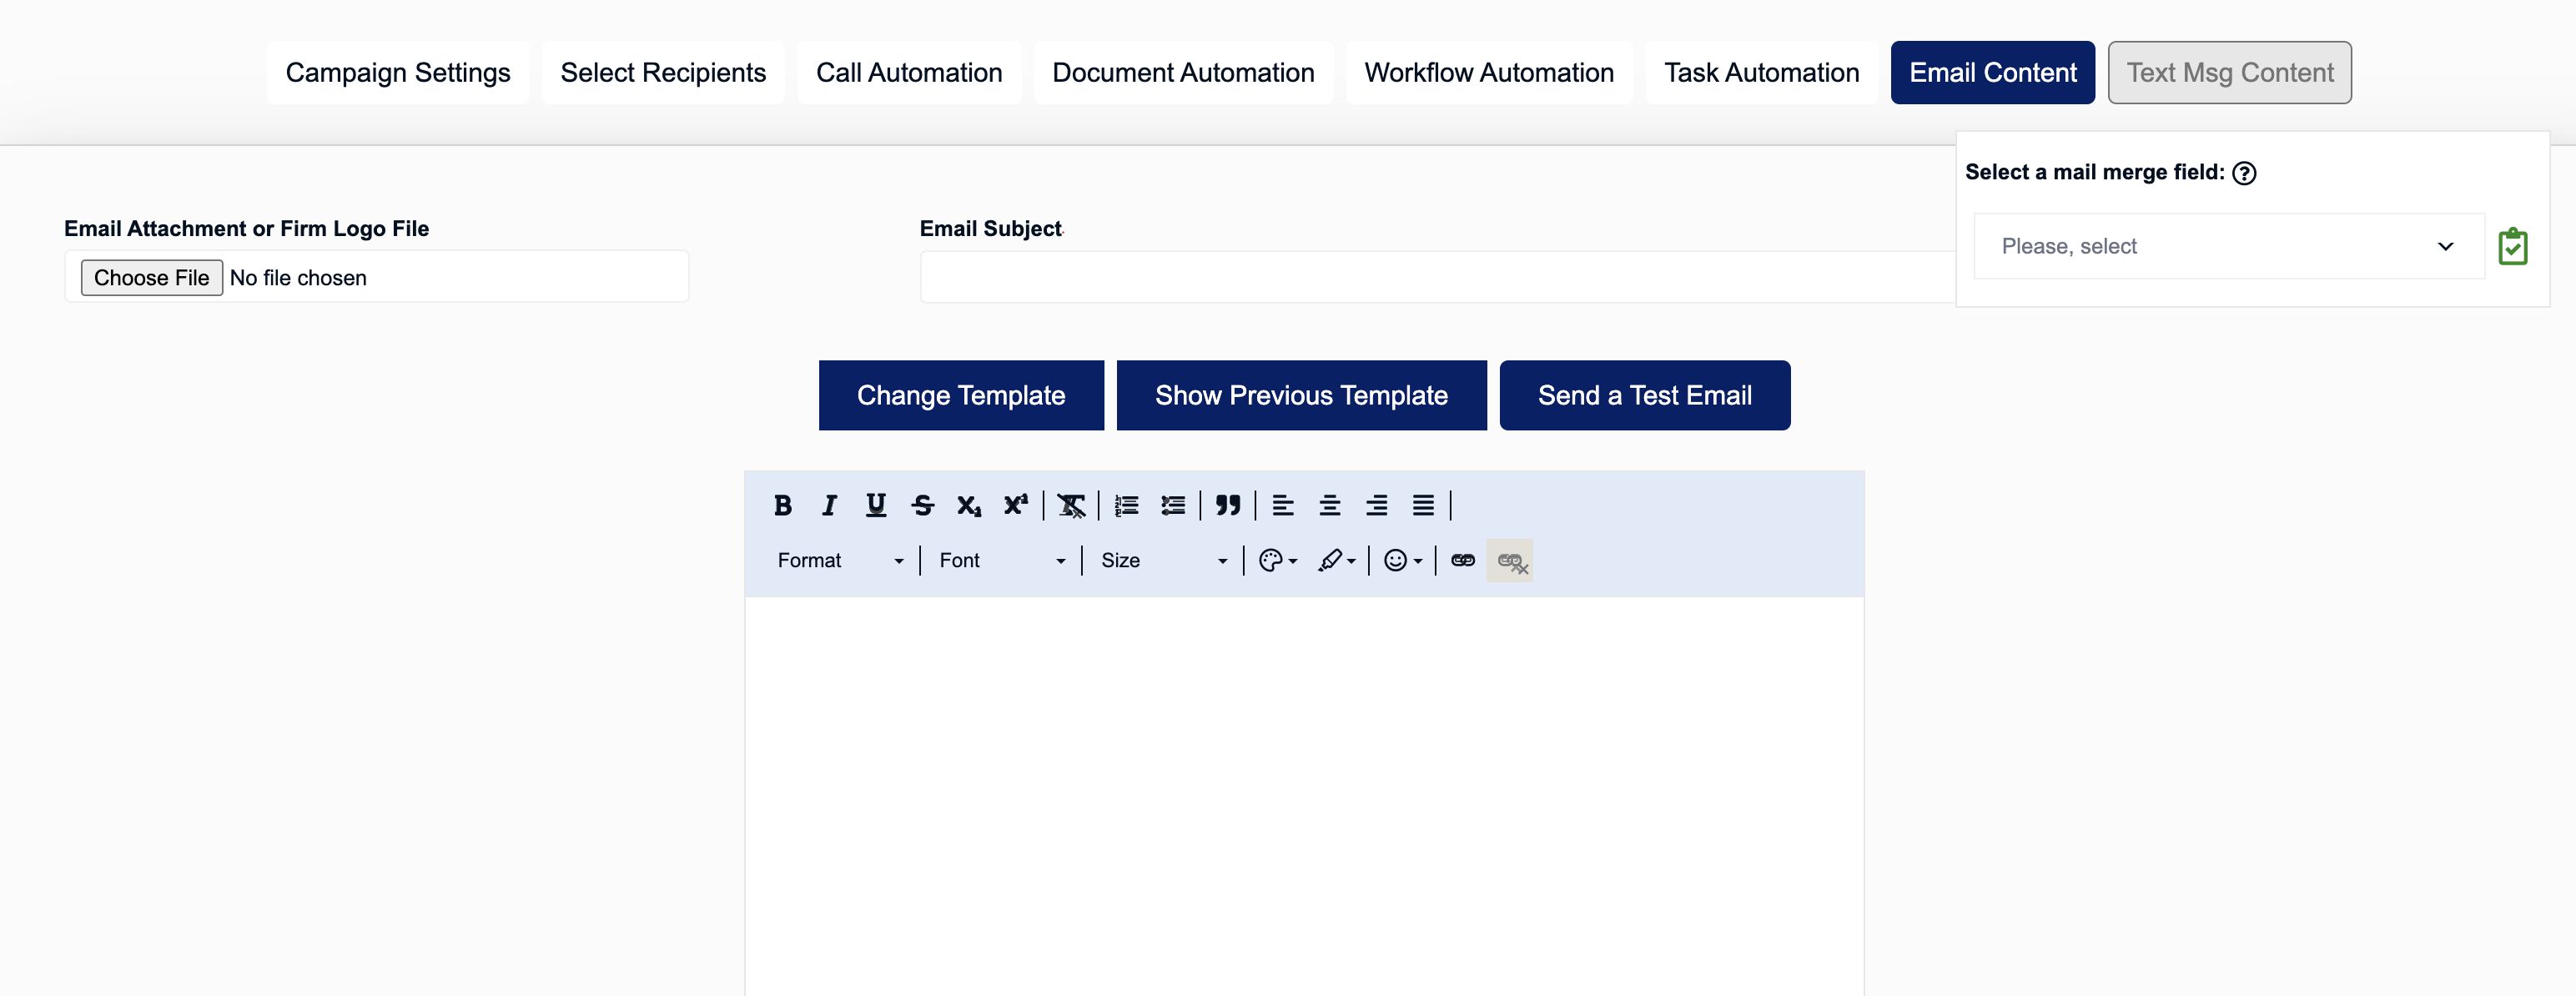
If the automation triggers an email, the contents of the email will be configured under the Email Content tab. This is where you will compose the email subject and body, and you can also insert a file from your computer as an attachment. Note the Select a mail merge field box in the upper-right corner. Use this box to find any default and custom mail merge codes in the system that you would like to reference in your email. For example, if the email is being sent to clients, the <<Lead Name>> mail merge code will pull in the client's name.
Click the Next button in the screen's upper-right corner to proceed to the last tab.
If the automation triggers a text, the message's content will be configured under the Text Msg Content tab. Type the text message in the available SMS Text Message to send textbox. Note that the Select a mail merge field box also appears under this tab so you can copy mail merge codes to include in the text.
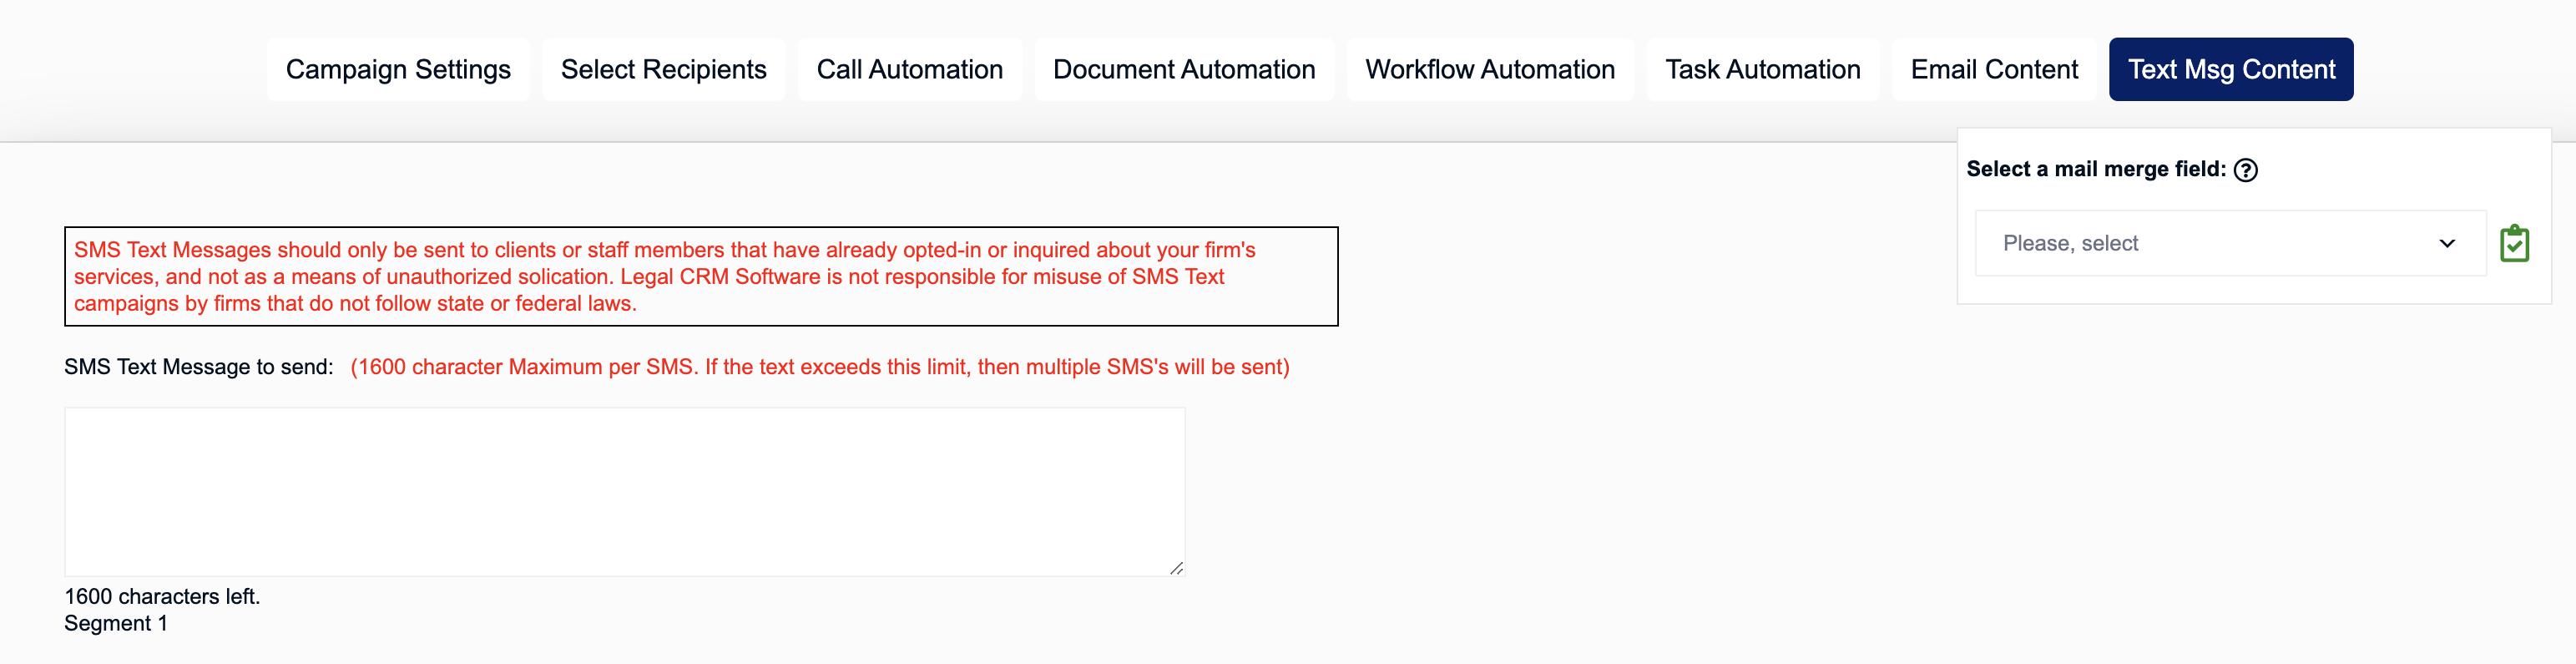
If you want to send a picture as a text message, you can select the image file(s) from your computer under the MMS Multimedia Campaign section.

Lastly, click the Add Campaign & Close button in the screen's upper-right corner to finish creating the new automation.
Filtering/Searching for an Automation Campaign
On the AI and Automation Campaigns page, you can use any of the filters located at the top of the screen to narrow down the displayed automations. This is useful if you need to locate any specific automation(s). There’s also a search bar located to the right of the filters that can be used to look for any automation using keywords.

Edit/Deleting/Copying an Automation Campaign
To edit an existing automation, click the pencil icon that appears to the very right of the automation. This will open up the Automation Editor screen, where you can modify any of the automation settings.
To create a copy of an existing automation, click the double paper icon that appears to the very right of the automation. This will create an exact copy of the automation. This can be useful if you need two automations that are pretty much the same, but only a few settings differ.
To delete an existing automation, click on the trash bin icon that appears to the very right of the automation. Deleted automations cannot be restored.
